How to Crop Images: Aspect Ratios Explained
Table of Contents
- 1. 1. Aspect ratio is just "what shape is the box"
- 2. 2. The rule of thirds actually works (when you stop overthinking it)
- 3. 3. Crop in from the edges, not toward the subject
- 4. 4. Cropping can't add resolution (do the pixel math)
- 5. 5. Every platform crops your crop (leave a margin)
- 6. 6. Straighten before you crop (order matters)
- 7. 7. Keep the original (cropping is destructive)
I cropped my first hundred photos wrong. Not dramatically wrong — nobody lost an eye — but wrong in the small ways that separate a decent image from a good one: heads touching the top edge, horizons slicing through the middle, Instagram posts with the subject's feet cut off by the app's own cropping. Cropping looks like the simplest edit in existence — draw a box, keep what's inside — but the decisions inside that box are where composition lives.
Here are the seven things I wish someone had told me before I started, covering the aspect ratios you'll actually use, the composition rules that earn their keep, and the hard limits of what cropping can and can't do for you.
1. Aspect ratio is just "what shape is the box"
Every crop decision starts with the shape. 16:9 is the widescreen rectangle — YouTube thumbnails, presentation slides, desktop wallpaper. 1:1 is the square — profile pictures, Instagram grid posts, album art. 4:5 is the tall portrait rectangle — Instagram/Facebook feed posts, Pinterest pins, phone wallpapers. 3:2 is what most cameras shoot natively. 9:16 is the full vertical — Stories, Reels, TikTok.
The practical insight: crop for the destination, not for the photo. A great landscape shot cropped 1:1 for Instagram and 16:9 for YouTube are two different crops with two different compositions — the square version might center the mountain, while the widescreen version keeps the whole ridge line. Trying to make one crop serve every platform is how you get the "why does this look weird on my phone" problem. Crop once per destination. It takes thirty seconds each.
The ratios that earn their keep: 16:9 (video and wide web), 1:1 (social squares), 4:5 (social portrait — and note this one, because 4:5 takes up more screen space in feeds than square, which is free visibility), and 3:2 or 4:3 (printing, where paper shapes rule).
2. The rule of thirds actually works (when you stop overthinking it)
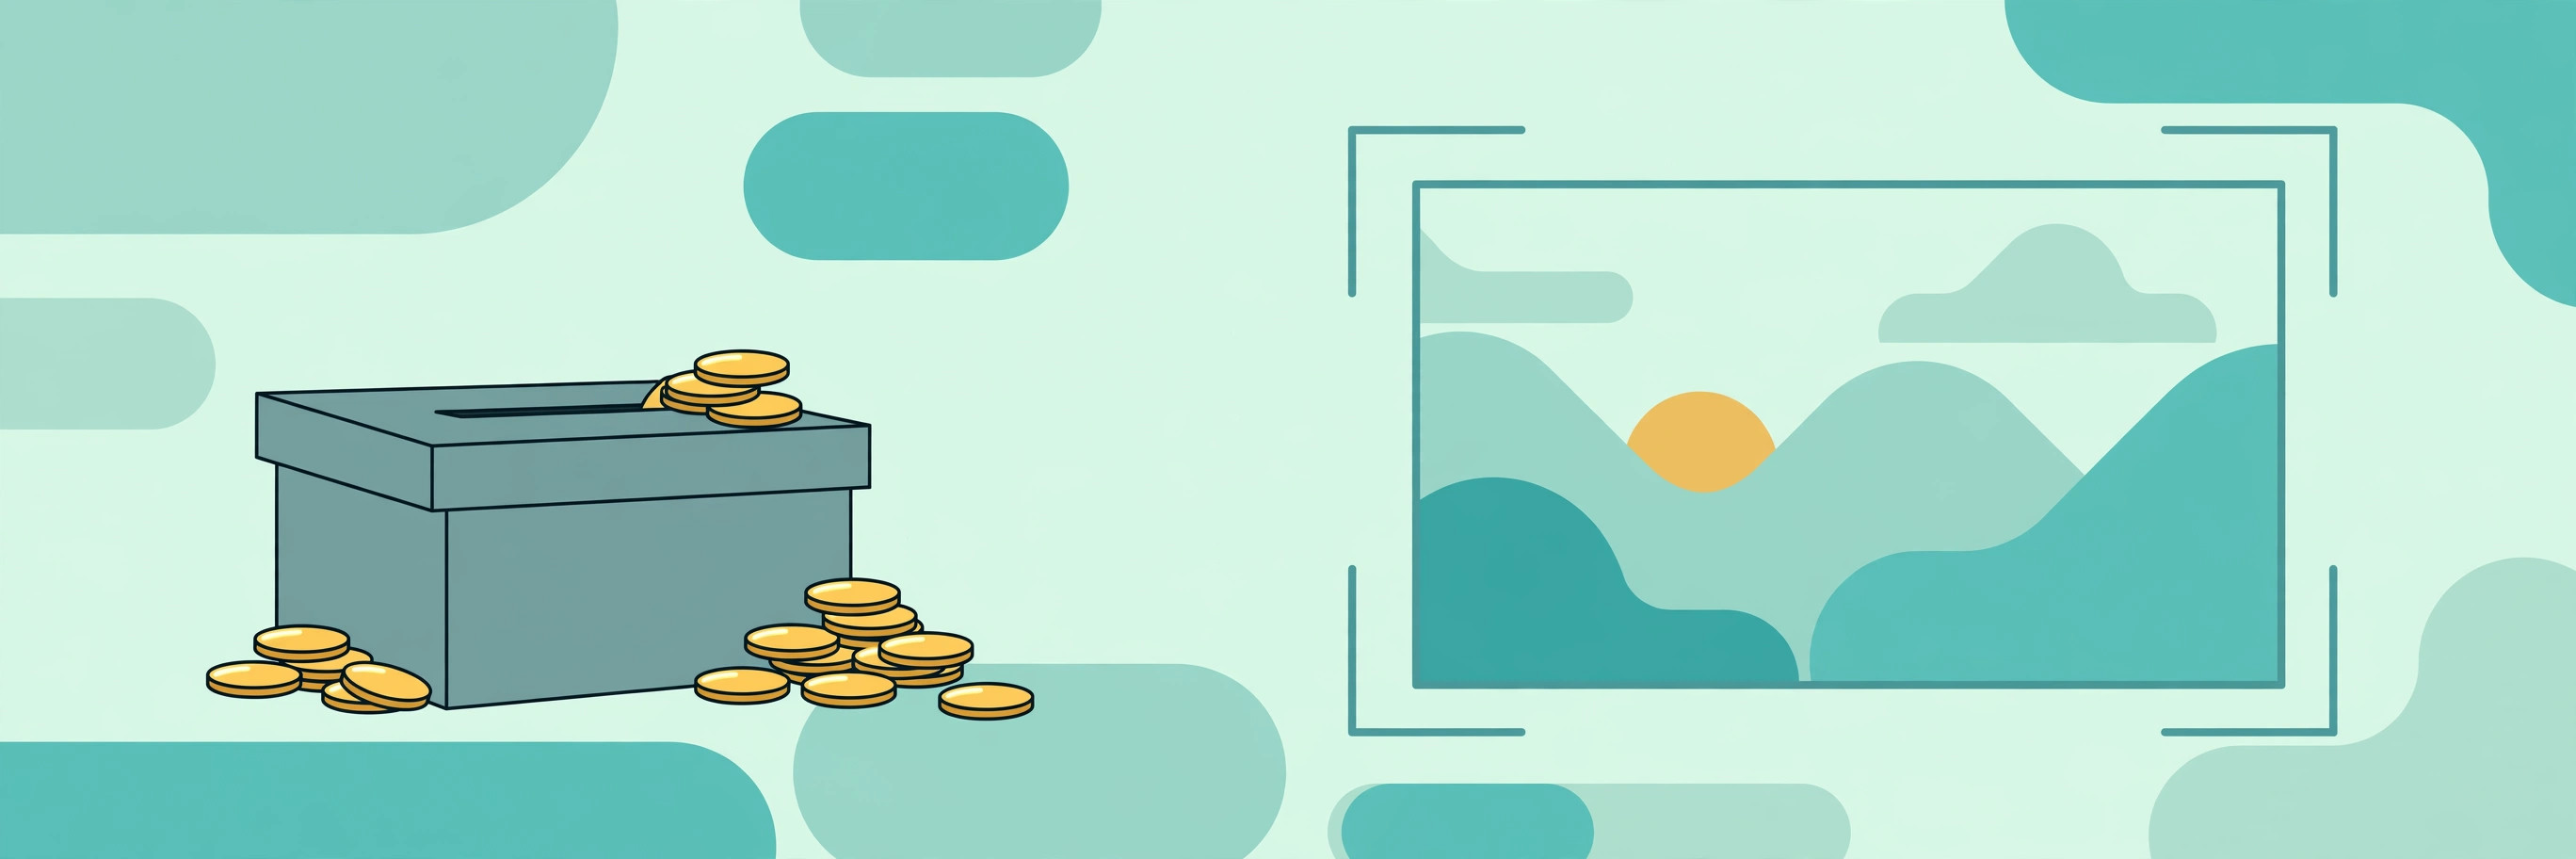
Imagine a tic-tac-toe grid over your image: two vertical lines, two horizontal lines, dividing the frame into nine equal boxes. The rule of thirds says: put your subject on one of the lines, or better, on one of the four intersections where lines cross. Horizons go on the upper or lower line, not through the middle. A person's eyes land near the top intersections.
Why does this work? Centered compositions are static — the eye arrives and stops. Off-center compositions create tension and movement; the eye travels through the frame. It's not a law of physics, it's a pattern humans find pleasing, confirmed by about a century of photography and painting.
The beginner version: turn on the grid overlay in your cropper (any decent one has it) and drag until the interesting stuff sits on the lines. The advanced version: learn it, then break it deliberately. Perfectly centered subjects work brilliantly for symmetry — architecture, reflections, portraits with direct eye contact. The rule is a default, not a cage. But "default to thirds, break for symmetry" will improve 90% of crops immediately.
3. Crop in from the edges, not toward the subject
Here's the mistake I made for years: I'd drag the crop box tight around the subject, like I was cutting it out with scissors. Faces filled the frame edge to edge. The result felt claustrophobic, and any platform that applied its own additional cropping (looking at you, circular profile pictures) decapitated someone.
Better approach: start with the full image and pull the edges in gradually, asking at each step "does the image still breathe?" Leave headroom above heads — roughly the height of the subject's forehead as a minimum, more for airy compositions. Leave space in the direction the subject is looking or moving (a runner needs space ahead, not behind). This "looking room" is the difference between a photo that feels intentional and one that feels cramped.
The corollary: never crop at a joint. Don't cut through ankles, knees, wrists, or necks — it creates an uncomfortable amputation effect. Crop mid-thigh, mid-forearm, or mid-torso instead. Fashion photographers learn this on day one; the rest of us learn it from awkward family photos.
4. Cropping can't add resolution (do the pixel math)
This is the hard limit, and it bites hardest on social media. When you crop, you throw away pixels. A 6000×4000 photo cropped to a tight 1:1 square might become 2000×2000 — still plenty. But crop aggressively into a small section and you can end up with an 800×800 image that looks soft when displayed large.
The math to keep in your head: your crop needs to leave enough pixels for the destination. Instagram displays feed images at about 1080px wide — so your crop must be at least 1080px on its longest displayed side, or the platform upscales it and it goes soft. A profile picture displays tiny (around 320px), so you can crop aggressively there. A print at 300 DPI needs 300 pixels per inch — an 8×10 print wants 2400×3000 pixels remaining after the crop.
Practical rule: crop as little as you can get away with. If you find yourself cropping away 80% of every photo, the problem isn't the crop — you're standing too far away when you shoot. Move closer. The best crop is the one you do with your feet.
5. Every platform crops your crop (leave a margin)
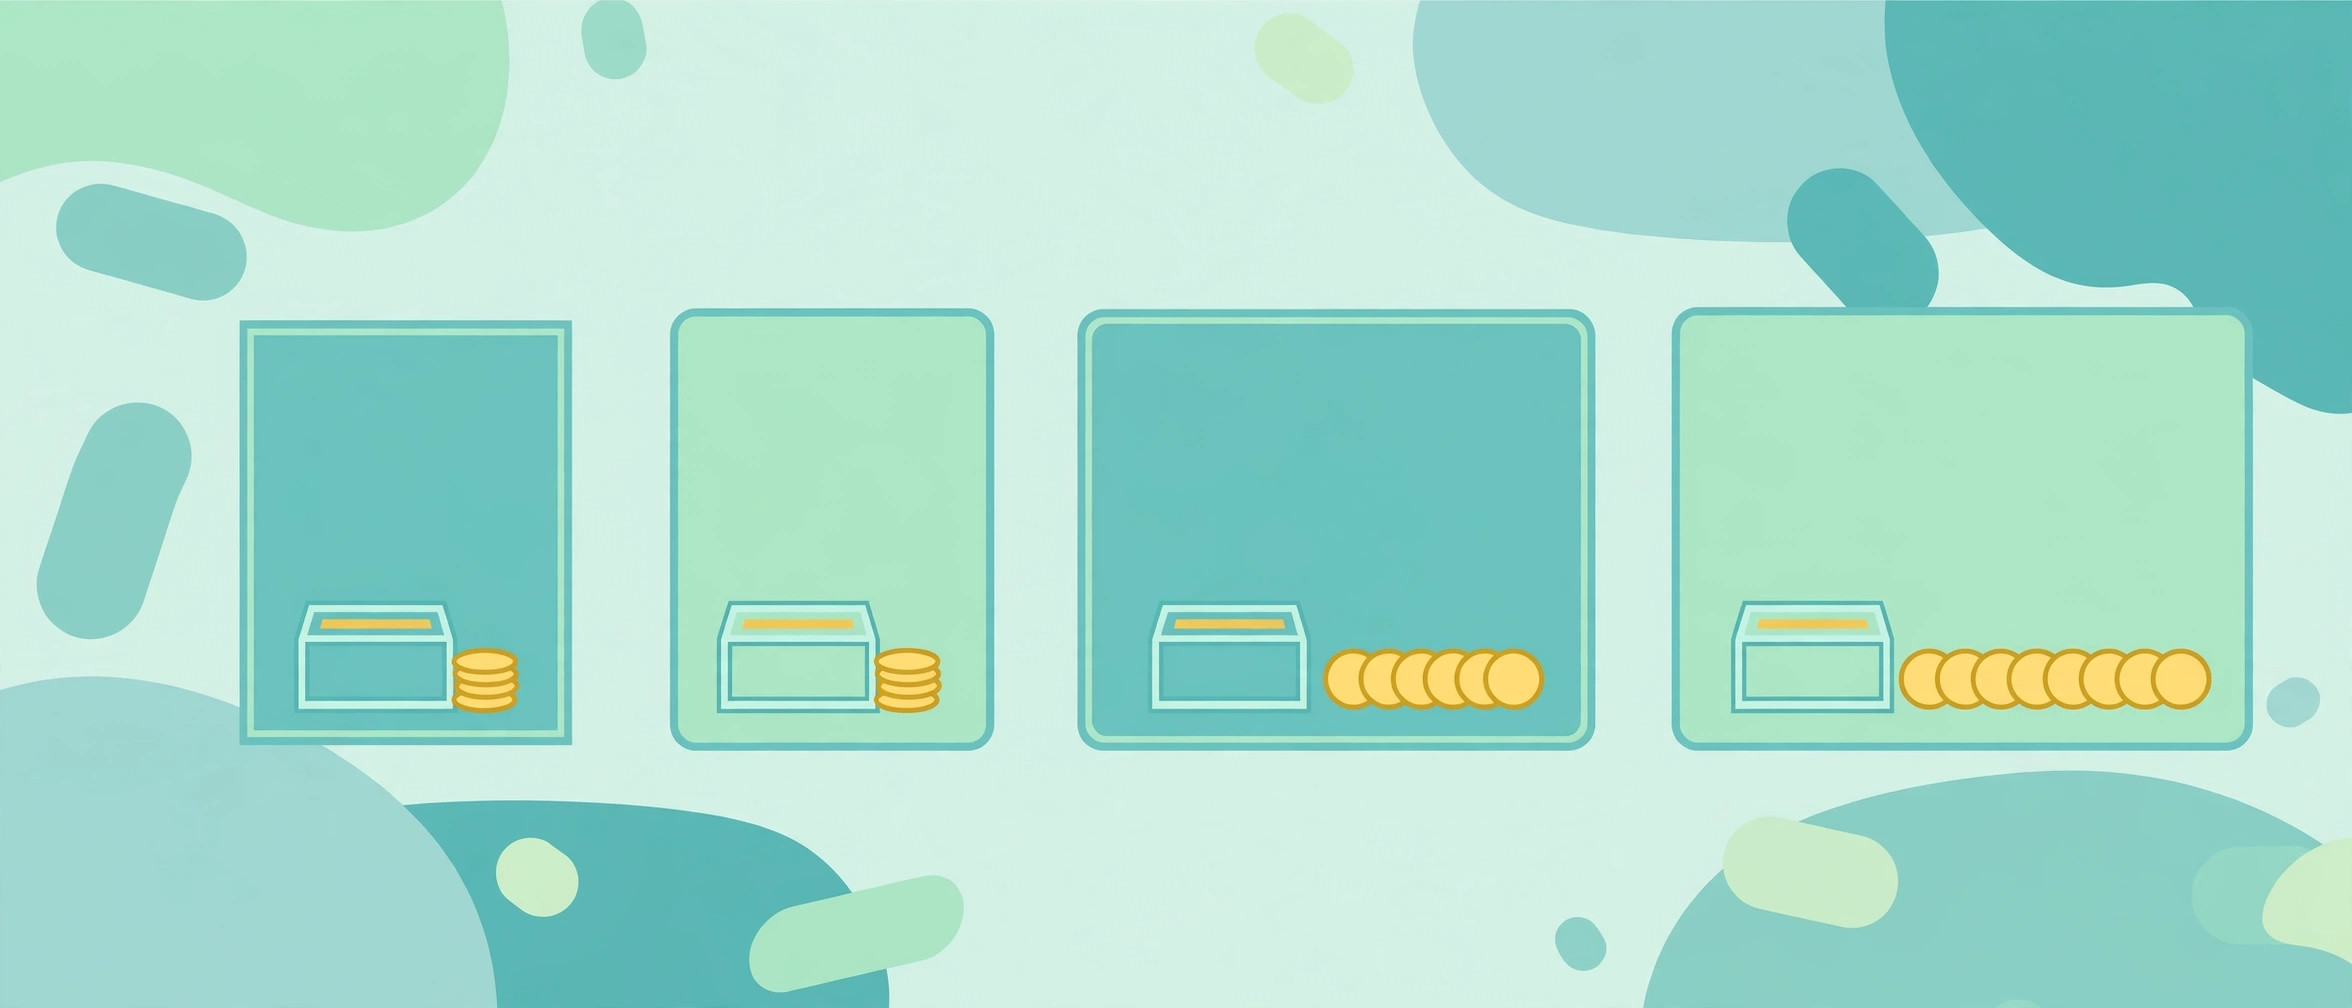
Here's the thing nobody tells beginners: your carefully composed crop is not the final word. Instagram's circular profile picture crops the top and bottom off your square. Facebook's link previews take a 1.91:1 slice from the middle of your image. Twitter/X crops preview images to 16:9-ish. YouTube takes a 16:9 center cut for some placements.
The defense is margins — "safe zones." Keep faces, text, and critical subjects away from the edges, roughly 10–15% inside the frame on all sides. When the platform takes its extra slice, it eats margin, not faces. This is also why text-on-image graphics need generous padding: the platform crop doesn't care about your typography.
For profile pictures specifically: compose for a circle, not a square. Keep the face centered with wide margins, because the circle will discard the corners. Group photos as profile pictures are a lost cause — one face survives, the rest become abstract art.
6. Straighten before you crop (order matters)
A tilted horizon makes even a perfectly composed crop look amateur. The fix takes five seconds — rotate until the horizon or the vertical lines are straight — but the order matters: straighten first, then crop. Rotating after cropping cuts off the corners (rotation needs extra canvas), forcing you to crop again tighter, losing more of the image.
The full order of operations for a clean edit: straighten → crop for composition → resize for the destination → export in the right format. Each step builds on the last, and doing them out of order means redoing work. Straightening is also where you discover whether the photo is salvageable — a horizon tilted 15 degrees with no extra canvas to rotate into might be a lost cause, and it's better to know that before you've spent ten minutes on the crop.
While you're at it: check verticals, not just horizons. Buildings that lean (converging verticals from tilting the camera up) look wrong even when the horizon is level. Most croppers include a vertical straightening option; use it on architecture.
7. Keep the original (cropping is destructive)
Every crop discards information permanently — unless you keep the original file. The crop that's perfect for Instagram today is wrong for the print you want next year, wrong for the 16:9 slide deck next month, wrong for the client who wants the wider version. Photographers learn this as "never overwrite the original," and it's the easiest rule on this list.
The workflow: original stays untouched in an archive folder. Every crop is a new exported file with a descriptive name (`sunset-dock-instagram-45.jpg`, `sunset-dock-youtube-169.jpg`). Storage is cheap; regret is expensive. The Image Cropper & Aspect Ratio Tool fits this workflow naturally — it works on a copy in your browser and exports a new file, so the original on your disk is never at risk, and since everything runs locally, your photos never upload anywhere in the process.
One more thing about "destructive": this applies to your edits too. If your cropper supports it, save the crop coordinates or the project, not just the output. Future you will thank present you when the client asks for "the same crop but square."
Try it free — no sign-up
Run the numbers yourself in seconds. Everything happens in your browser.
Open the Image Cropper & Aspect Ratio ToolFrequently Asked Questions
What aspect ratio should I use for Instagram posts?
4:5 (portrait) for feed posts — it takes up the most screen space, giving you maximum visibility. 1:1 (square) also works and is the classic Instagram shape. For Stories and Reels, use 9:16 full vertical. Crop a separate version for each placement rather than reusing one crop everywhere.
How do I crop an image without losing quality?
Cropping removes pixels, so "quality" here means keeping enough pixels for the destination. Leave at least 1080px on the longest side for Instagram feed images, and 2400×3000+ for an 8×10 print at 300 DPI. Crop as little as possible, keep the original file, and export the crop as a new file.
What is the rule of thirds in cropping?
Divide the frame into a 3×3 grid and place key subjects on the grid lines or their intersections, rather than centering everything. Most crop tools show this grid as an overlay. It creates more dynamic compositions; break it deliberately for symmetrical subjects like architecture or direct-gaze portraits.
Can I crop a photo into a circle?
Circular cropping is just a square crop with the corners masked — compose for it by keeping the subject centered with wide margins, since the circle discards the corners. Most profile pictures display as circles, so leave 15%+ margin on all sides of faces.
Why do my cropped photos look blurry on Instagram?
Usually because the crop left too few pixels and Instagram upscaled it to 1080px wide. Crop less aggressively, or start from a higher-resolution original. Also check that you're exporting at high quality — a low-quality JPG export looks soft regardless of pixel dimensions.
Is it safe to crop personal photos with an online tool?
Yes, if the tool runs entirely in your browser. Browser-local croppers process the image on your machine and never upload it. Avoid upload-based tools for personal or unpublished photos, since your full image transits their servers.